Easy Chocolate Shake Recipe is the most searched topic among beverage lovers because chocolate remains a universal comfort flavor for everyone. Whether it is a hot summer afternoon or just a regular day, a chocolate shake is always the perfect choice. When you are feeling tired after a long day of work or study, nothing lifts your mood faster than a frosty glass of cocoa goodness. Many people order chocolate shakes from outside cafes, but making one at home is just as easy. You do not need any complex culinary skills or expensive restaurant equipment to create a velvety, rich masterpiece inside your own kitchen. Therefore, this comprehensive guide will help you understand how simple ingredients can transform into a premium cafe-style beverage effortlessly.
Making a chocolate shake at home is not only more economical but it also allows you to customize it exactly to your personal taste. When you purchase drinks from commercial outlets, you often consume excessive artificial preservatives and low-grade sugars. On the contrary, homemade preparation gives you complete control over the quality of dairy and chocolate components. In this blog, we will share a simple and easy chocolate shake recipe that you can whip up at home in just a few minutes. Consequently, you will be able to treat your family and friends to a refreshing, hygienic dessert whenever a craving strikes.
Why Is the Chocolate Shake So Popular Everywhere?
The incredible popularity of this classic easy chocolate shake recipe stands strong across generations for several psychological and culinary reasons. First of all, the chocolate flavor is a universal favorite that triggers happiness hormones instantly inside the human brain. From early childhood memories to adult celebratory desserts, cocoa is a comforting taste that people associate with reward and relaxation. Therefore, serving a chocolate-based drink guarantees that your guests will feel highly satisfied.
Secondly, it is incredibly refreshing and provides an immediate burst of physical energy during exhausting summer months. The beautiful combination of frosty ice cubes and creamy dairy cools down your body temperature instantly. Third, it represents a versatile beverage that appeals to everyone from young children to adults alike. You can easily serve a thick glass of this shake during evening snack time, weekend pool parties, or as a quick dessert after a heavy weekend dinner. Because it requires no baking or extensive cooking, it remains the most convenient sweet solution for busy homemakers.
Essential Ingredients Required for This Creamy Beverage
To achieve an exceptionally thick, restaurant-style consistency with this easy chocolate shake recipe, you must gather high-quality foundational ingredients. Keeping your dairy products properly chilled before beginning the process is the real secret to achieving an elite texture:
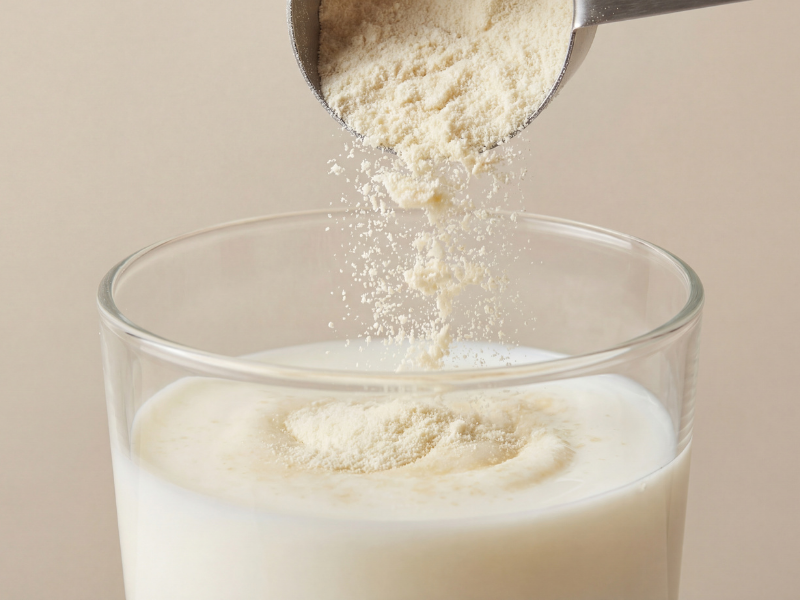
- Chilled Base Liquid: Two cups of fresh, cold milk (preferably full-cream milk for maximum richness).
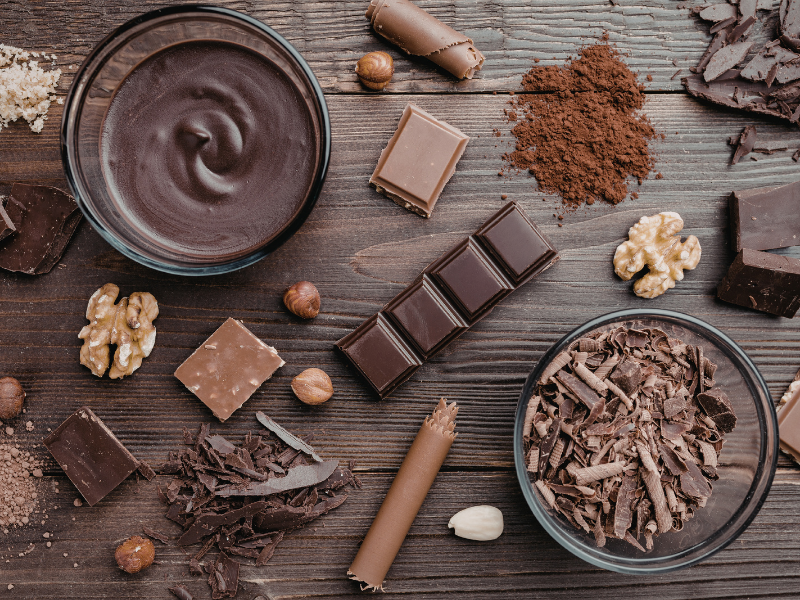
- Chocolate Flavoring: Three tablespoons of premium chocolate syrup or high-quality unsweetened cocoa powder.
- Sweetener Element: Two tablespoons of regular white sugar, organic honey, or brown sugar to balance the bitterness of cocoa.
- Frosty Temperature: Four to five clean ice cubes to keep the blended beverage frosty and thick.
- Creaminess Enhancer: Two large scoops of premium vanilla or chocolate ice cream (highly recommended for a cafe-like body).
- Fun Toppings: A handful of crunchy chocolate chips or extra chocolate drizzle for an attractive presentation.
Step-by-Step Instructions for This Easy Chocolate Shake Recipe
Step 1: Selecting and Measuring the Cold Milk
First, take some cold milk directly from your refrigerator and measure it using a standard cup. Using warm or room-temperature milk is a critical mistake because it melts the ice cream instantly, which leaves your drink watery. If you want an ultra-thick beverage, you can even place your milk inside the freezer for fifteen minutes before you begin cooking.
Step 2: Incorporating the Main Chocolate Components
Add the chocolate syrup or cocoa powder to it carefully inside your high-speed blender jar. If you are utilizing cocoa powder, ensure it is a fine, lump-free variety so it dissolves completely during the blending phase. Combining both syrup and powder together is also an excellent trick if you prefer an intense, dark chocolate flavor profile.
Step 3: Balancing the Sweetness Levels
Add a little sugar into the blender jar based on your personal sweetness preferences. Keep in mind that commercial chocolate syrups already contain a massive amount of hidden sugar. Therefore, taste your syrup beforehand so you do not accidentally over-sweeten the final drink.
Step 4: Adding the Ice Cubes for Thickness
Add the ice cubes directly into the liquid mixture right before you secure the blender lid. The ice cubes work alongside the blades to crush the dairy elements into a frosty, slushy consistency. However, avoid adding too many ice cubes, as excess water will dilute the rich cocoa flavors as they melt.
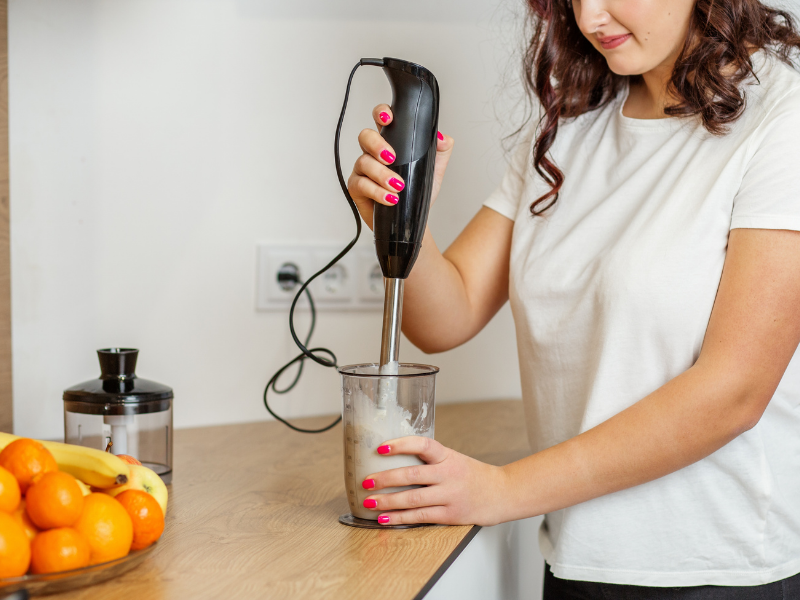
Step 5: Blending for Perfect Uniformity
Blend everything thoroughly in a high-speed electric blender for approximately thirty to forty seconds. Watch the mixture closely through the transparent jar until you see a beautiful, frothy layer forming on top of the liquid. Ensure that no solid ice chunks or unblended powder pockets remain at the bottom of the blender.
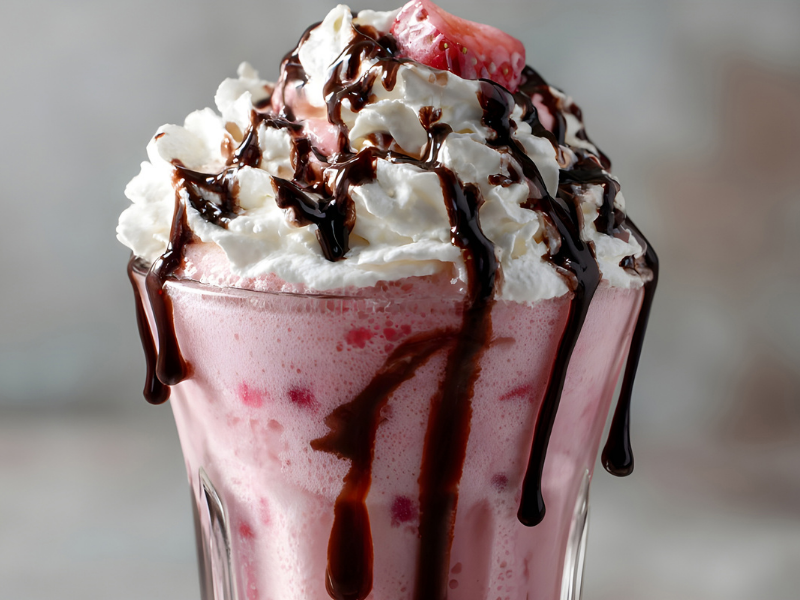
Step 6: Creative Garnishing and Serving
Pour the thick beverage carefully into a tall, pre-chilled glass. To finish the presentation, top the drink with a beautiful drizzle of chocolate syrup along the inner rim or add a fresh scoop of ice cream. Serve this delicious homemade creation immediately with a wide straw before the frostiness fades away.
Pro Tips to Greatly Enhance the Flavor of Your Shake
Achieving a professional culinary standard at home requires attention to minor ingredient details. Therefore, you should always implement these proven flavor enhancers during your preparation process:
- Always Use Cold Milk: Keeping your liquid base near freezing temperature locks the creaminess inside the shake perfectly.
- Add Premium Ice Cream: Incorporating a scoop of ice cream during the blending phase introduces essential fats that create a smooth, velvety mouthfeel.
- Incorporate Crunchy Chocolate Chips: Tossing a tablespoon of chocolate chips into the glass adds a wonderful texture that makes drinking fun.
- Add a Dash of Vanilla Essence: Adding two drops of pure vanilla extract creates a brilliant aromatic contrast that highlights the deep cocoa notes.
How to Formulate a Much Healthier Version at Home
If you want to enjoy your summer treats frequently without consuming excessive calories, you can easily modify this easy chocolate shake recipe. First, you should reduce the amount of refined white sugar completely or replace it with natural options like organic stevia, dates, or ripe bananas. Because natural sweeteners contain beneficial fiber, they do not cause sudden blood sugar spikes.
Second, you should use high-quality dark chocolate syrup or raw unsweetened cocoa powder instead of sugary milk chocolate alternatives. Dark chocolate contains powerful antioxidants that support excellent cardiovascular health. Third, you can completely use low-fat milk, skimmed milk, or plant-based options like almond milk and oat milk. These simple modifications allow fitness enthusiasts to enjoy a guilt-free chocolate treat without breaking their daily calorie budget.
Exciting Chocolate Shake Variations You Can Try
The absolute best part about home blending is that you can easily customize flavor profiles according to your personal cravings. Here are the most famous variations of this basic easy chocolate shake recipe that you can experiment with:
- Crunchy Oreo Chocolate Shake: Simply toss three original Oreo cookies into the blender jar alongside the milk to create a legendary cookies-and-cream combination.
- Nutritious Banana Chocolate Shake: Make it significantly healthier by adding a single ripe banana into the mixture, which introduces natural thickness and potassium.
- Ultra Thick Chocolate Shake: Add extra ice cream and a tablespoon of heavy dairy cream to create an rich, dessert-like consistency that you can eat with a spoon.
- Nutty Peanut Butter Chocolate Shake: Blend in a tablespoon of creamy peanut butter to introduce a wonderful salty contrast and high-quality proteins.
Common Blending Mistakes to Avoid in Your Kitchen
Many beginners face minor disappointment during their first beverage preparation because they rush through the instructions. One of the most frequent errors is adding too much sugar, which completely masks the authentic, rich bitterness of premium cocoa. Another critical mistake is using warm milk, which creates a thin, flat liquid that lacks any appetizing frothiness.
Additionally, not blending thoroughly enough leaves unpleasant solid ice blocks and powdery lumps inside the glass, which ruins the drinking experience. Therefore, you must run your blender on medium-high speed to achieve a uniform texture. By maintaining control over your ingredient temperatures and practicing patience, you can easily master the art of making flawless milkshakes on your very first attempt.
Conclusion
In the final analysis, making a chocolate shake is incredibly easy, and a shake made at home is generally healthier and more hygienic. You absolutely do not need expensive restaurant setups or artificial thickeners to enjoy a luxurious chocolate experience daily. By utilizing chilled milk, quality cocoa, and a standard kitchen blender, you can take total control over your dessert habits. You can enjoy it as an everyday refreshing treat during hot afternoons or save it for a special weekend occasion with your loved ones. Ultimately, mastering this basic easy chocolate shake recipe empowers you to bring pure, comforting happiness directly to your dining table within minutes.